
You spend the afternoon mopping, hoping the floor will finally look fresh. But once it dries, that hazy film shows up again, along with sticky spots and grout lines that still look dull and gray. After all that effort, the floor somehow still doesn’t feel clean.
Most of the time, the issue is not how hard you scrub but how dirt gets trapped and moved around the floor. Traditional mops often act like a paintbrush, just spreading dirty water back into the cracks instead of removing it.
If you want a truly deep clean for your tile floors, you need to change your strategy. In this guide, we will share the exact steps for how to clean tile floors and get them looking brand new again.
Quick Summary
Achieving a professional look for your floors requires a clear plan with practical steps, such as:
- Clear dirt from the surface
- Choose the right cleaner
- Follow the two-bucket system
- Scrub the grout lines
- Hand-dry the tiles
Different Types of Tile Floors and Their Cleaning Needs
You cannot treat a sturdy porcelain floor the same way you treat a sensitive piece of natural marble. Some materials are very tough, but others will react poorly to common household cleaners.
Stones like slate or marble are porous, meaning they soak up liquids like a sponge. If you use vinegar or lemon juice on them, the acid will be absorbed into the stone and leave permanent marks.
On the other hand, ceramic is a bit easier to manage, though it can still get a weird residue if you use too much liquid.
Knowing what is under your feet is the first step to avoiding accidental damage. Use this table to find the right cleaning solutions for your specific floor type:
| Tile Type | Cleaning Sensitivity | Recommended Solution |
| Ceramic | Low | Mild detergent or neutral soap |
| Porcelain | Low | Warm water or porcelain-specific cleaner |
| Marble | High | pH-neutral stone soap only |
| Slate | Medium | Mild soap; avoid all acids |
| Vinyl Tile | Low | Apple cider vinegar or vinyl solution |
What to Use to Wash Tile Floors: Tools & Cleaning Supplies
To get real results, you need equipment that actually grabs the dirt and lifts it away. Here is what we recommend keeping in your closet:
- A vacuum with a hard-floor setting or a soft broom
- A flat microfiber mop with several extra pads
- A grout brush or a stiff old toothbrush for the cracks
- Two buckets to keep your water fresh
- Clean microfiber cloths for the final drying stage
You need to have the following items for the cleaning solutions:
- A pH-neutral floor cleaner that does not leave a film
- Warm water to help break down grease
- A baking soda and water paste for heavy grout stains
- A tiny drop of dish soap for a very gentle daily wipe
Proven Techniques for Cleaning Tile Floors Effectively
Cleaning smarter is always better than cleaning harder. If you just throw water on the floor, you usually end up creating a bigger mess.
The following professional mopping methods focus on keeping your water clean and ensuring the dirt stays trapped:
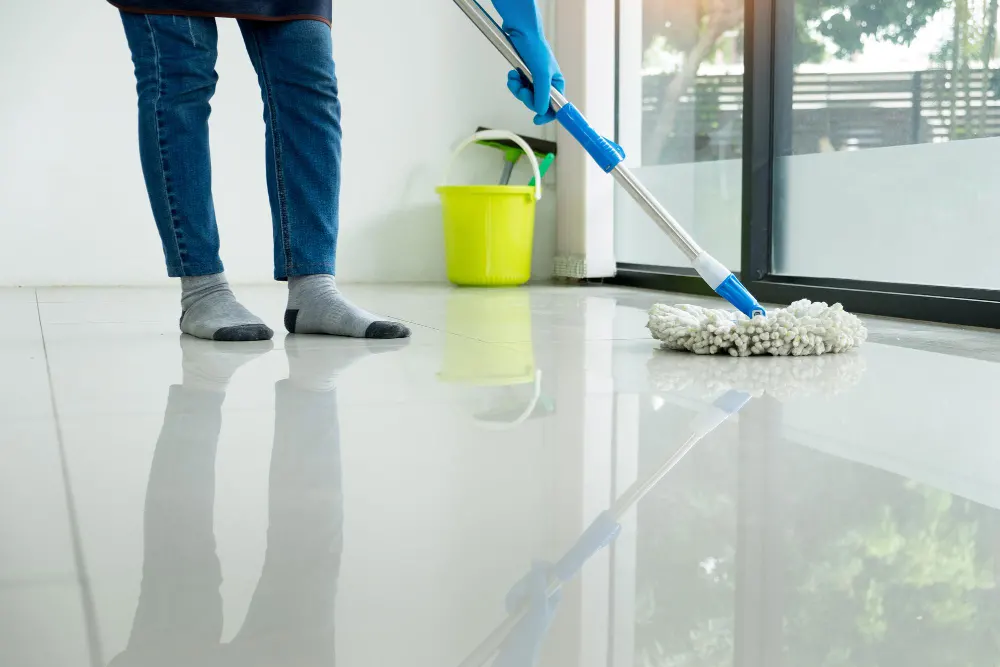
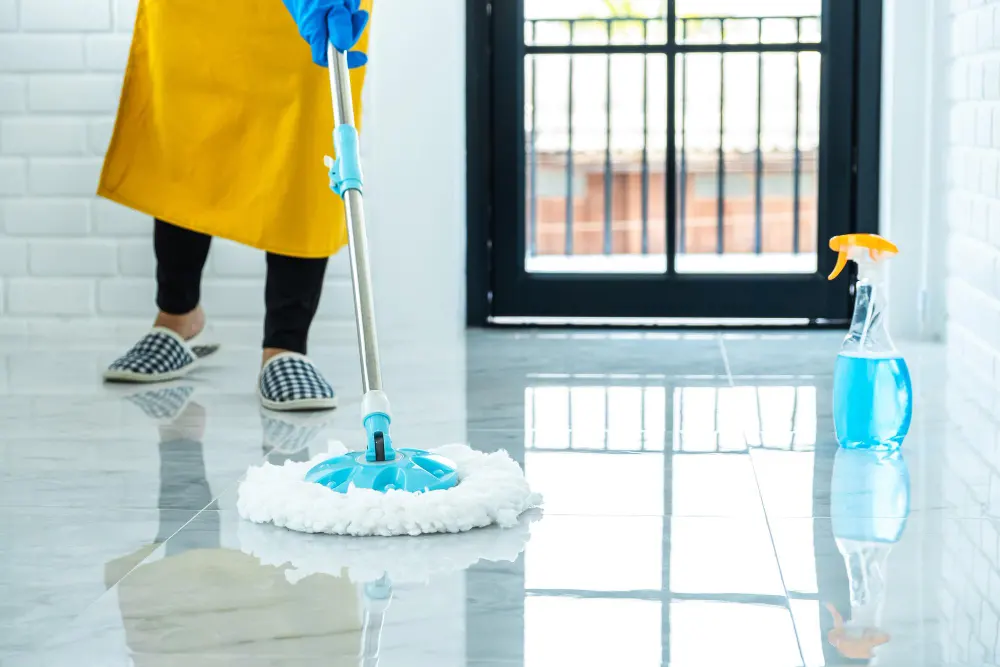
Microfiber Mopping Technique
The best way to clean ceramic tile floors is to swap the heavy cotton mop for a microfiber mop. Microfiber pads trap dust, dirt, and fine debris in their fibers, so you remove grime from the floor rather than spread it around.
Use the figure-eight motion, moving the mop head in a continuous “8” shape across the floor. This technique keeps the leading edge of the mop always moving forward, which traps the dirt in the front of the pad instead of spreading it back over the area you just wiped.
Section-by-Section Cleaning Method
Do not try to mop the entire room at once. If the cleaning water dries on the tiles, it leaves a sticky layer that traps every new speck of dust.
Work on a small area, perhaps four feet by four feet. Once that spot is clean and rinsed, move to the next. This technique ensures the surface stays wet enough to actually lift the grime.
Two-Bucket Method
This is one of the biggest secrets to keeping a floor clean. One bucket holds your cleaning solution, and the second bucket holds plain water for rinsing.
Before you put your dirty mop back into the cleaner, rinse it with plain water and ensure you are always applying a fresh, clean solution to your floor.
Light vs Deep Cleaning Techniques
A quick daily sweep is usually enough to keep things tidy for a while. But once a month, you should go for a deep cleaning.
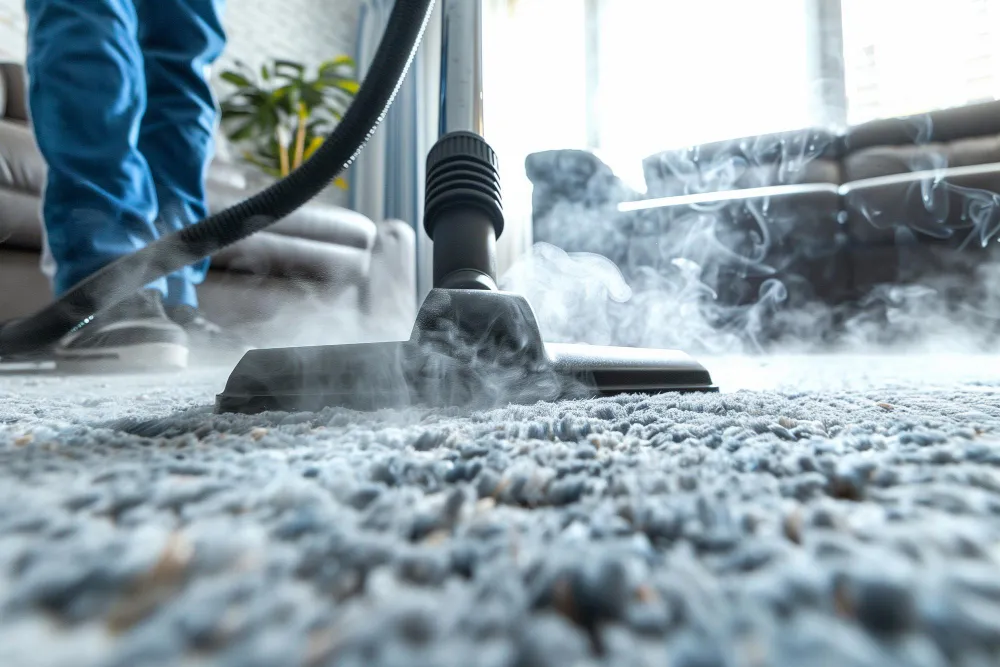
You might choose to steam clean tile floors. This method uses heated water vapor to kill bacteria and loosen deep grease without using chemicals.
You simply glide the steam mop over the tiles and let the steam lift deep-seated grime.
Just make sure your grout is sealed before you try this, as high heat can sometimes affect unsealed grout.
Grout Brushing Technique vs Surface Mopping
A flat mop will glide right over the grout lines, leaving the dirt trapped in the recessed cracks. Every few months, you need to get down there with a brush. Agitating the grout helps break up the dark stains that a standard mopping routine simply misses.
How to Clean Tile Floors the Right Way: Step-by-Step Guide
Once you know the basics of different floor-cleaning techniques, here is how to actually do the work. Following this order will stop you from repeating steps or making a muddy mess.
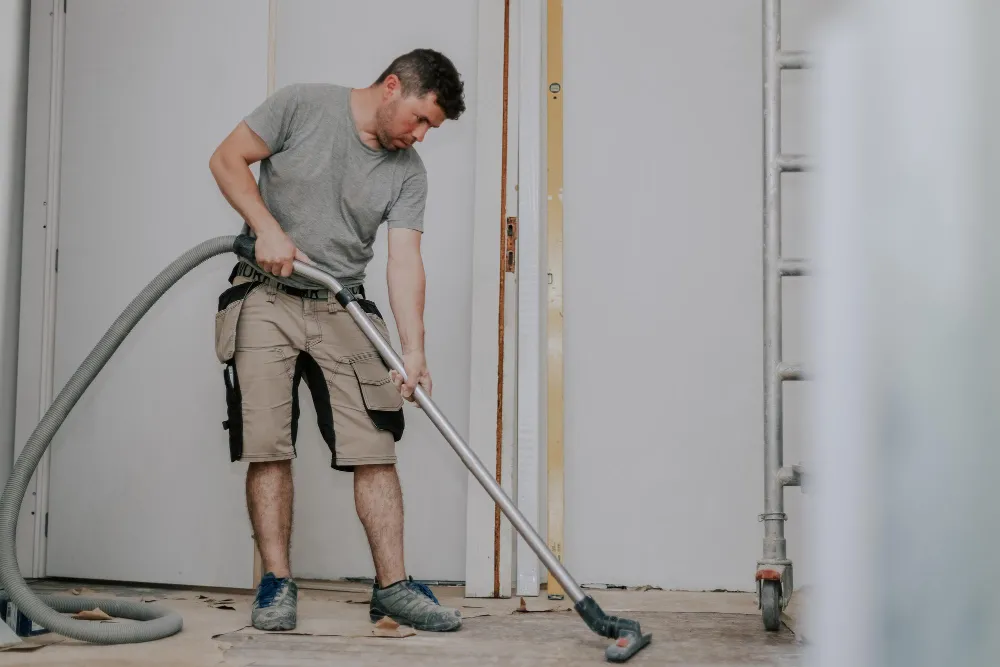
Step 1: Remove Dust and Debris
In the first step, remove every hair and crumb from the floor. If you skip this step, you will just be pushing wet mud around once you start mopping.
Use a vacuum or a broom to remove dust and debris, and check the corners carefully.
Step 2: Prepare Your Cleaning Solution
In the next step, set up your two separate cleaning stations:
- Fill your first bucket with warm water, then add a small splash of pH-neutral cleaner, following the bottle’s instructions.
- Fill the second bucket with plain, warm water for rinsing.
Avoid using too many cleaning agents. Excessive cleaning is the primary reason floors look cloudy or feel sticky after they dry.
Step 3: Mop in Sections
Then, move to the back corner of the room. Dip your microfiber mop in and wring it out until it is just damp. Use that figure-eight motion we talked about to work through a small square of the floor.
Step 4: Scrub Stubborn Stains (If Needed)
Next, check the grout for any dark spots or spills that did not come up. Use your grout brush and a little bit of your cleaning mix (a simple paste of baking soda and water) to scrub those lines. A little manual effort here goes a long way.
Step 5: Rinse and Remove Residue
Next, go back over the section with a mop dampened only with the rinse water from your second bucket. This step pulls up any leftover cleaning residue. It is the most important part of getting that clear, shiny finish you want.
Step 6: Dry the Floor Properly
Finally, do not let the floor air dry. Use a dry microfiber cloth to buff the surface. This stops water spots from forming and makes the floor look spotless immediately.
Common Mistakes to Avoid When Cleaning Tile Floors
A lot of the advice you find online can actually damage your flooring over time. It is easy to make a mistake that leaves a permanent mark or dulls the finish.
To keep your floors safe, do not do the following:
- Using abrasive scrubbers like steel wool that scratch the surface.
- Putting bleach on colored grout can cause the color to fade.
- Soaking the floor with so much water that it seeps under the tiles.
- Using the same bucket of water for the entire house.
- Using floor waxes or oil-based soaps creates a slippery, sticky buildup.
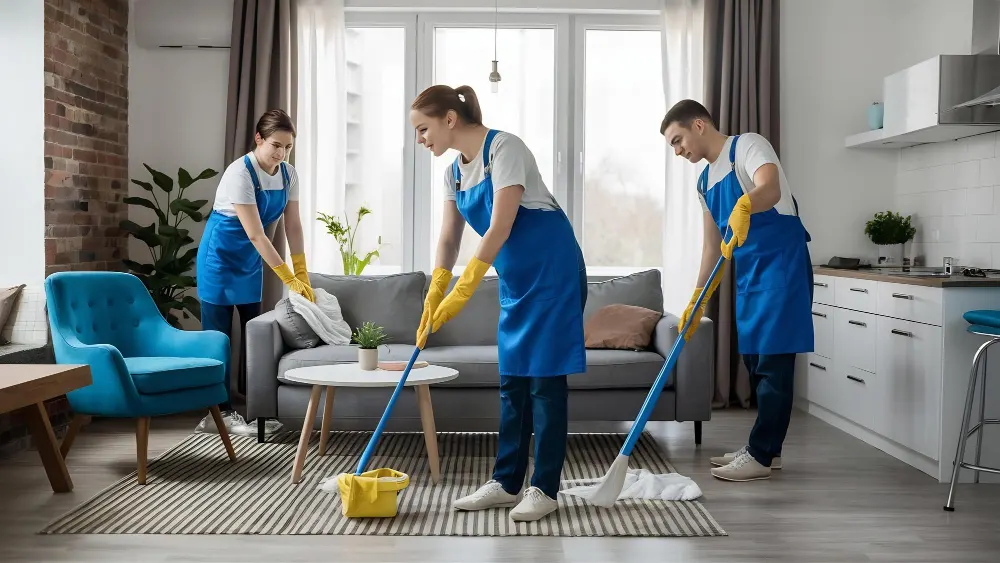
DIY vs Professional Tile Cleaning: When to Call Experts
Most of the time, you can keep your floors looking great on your own with a proper cleaning routine. But sometimes, years of buildup or a major home renovation leave a mess that a home mop cannot fix.
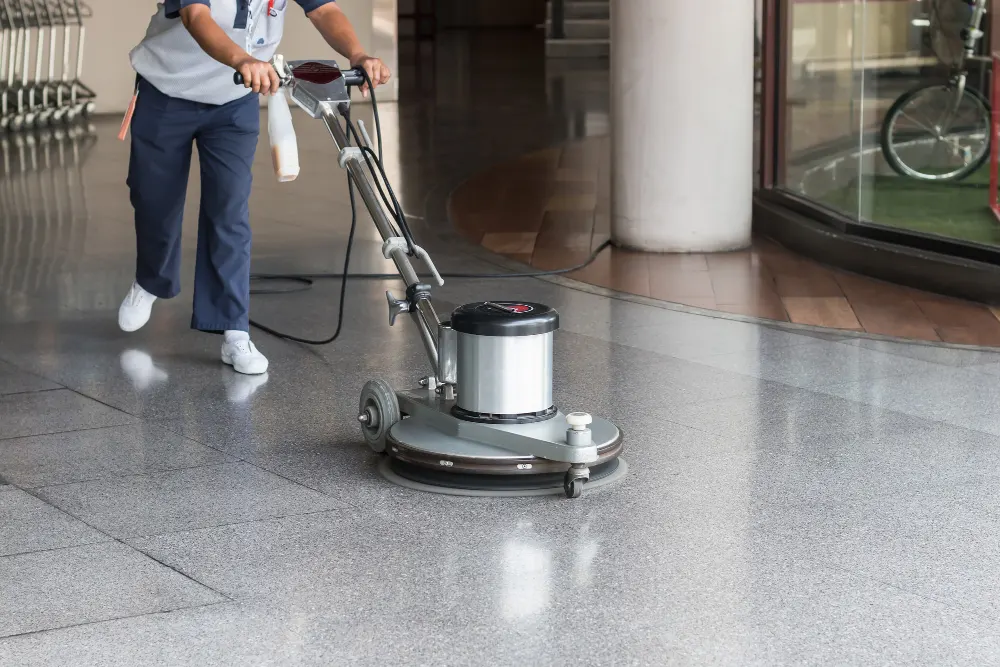
If your grout is stained dark and will not budge, or if the tile has a thick layer of old wax, a professional reset is a good idea. Experts use heavy-duty extractors and high-pressure steam to reach deep into the pores of stone and tile, making your floor look like new.
Conclusion
Keeping your floor tiles in top shape does not have to be a mystery. If you use the right tools and keep your rinse water clean, you can avoid the streaks and haze that ruin a room’s look.
Stick to neutral cleaners and always take an extra few minutes to dry the floor by hand. It makes a massive difference in the final shine.
If the job ever feels like too much, or if you want a professional deep clean for your floor, Alex Cleaning is here to help. We provide expert care for homes and businesses across Philadelphia and Bucks County. Contact us today for a free estimate and let us handle the deep cleaning for you.
FAQs
Is it safe to steam clean tile floors?
Steam is generally fine for ceramic and porcelain floors if the grout is in good shape and properly sealed. You should be careful with natural stone tiles like marble, as the high heat can sometimes cause damage. Always test a small, hidden area before doing the whole room.
How do you remove deep stains from grout?
A paste made of baking soda and water is an easy way to lift tough grout stains at home. Apply it to the lines, let it sit for a few minutes, and then scrub with a stiff brush. For very old or deep stains, a professional steam treatment might be the better option.
How often should you mop your tile floors?
You should try to mop high-traffic areas like the kitchen at least once a week. For rooms that are not used as often, once every two weeks is usually enough to keep them tidy. Frequent sweeping between mopping stops prevents dirt from being ground into the grout.