


In this guide, we have shared the step-by-step process we use to clean a kitchen in Bucks County, so you can follow along and master your own routine.
Our Kitchen Cleaning Checklist at a Glance
- Start by decluttering all surfaces.
- Dust high surfaces and light fixtures.
- Clean cabinets and shelves
- Wipe down countertops and the backsplash.
- Deep clean the sink and faucet.
- Scrub the stovetop and range hood.
- Clean all small kitchen appliances.
- Deep clean large appliances.
- Disinfect all high-touch surfaces.
- Sweep and mop the floor.
- Empty the trash and replace the liner.
What You Need Before You Start Cleaning Your Kitchen
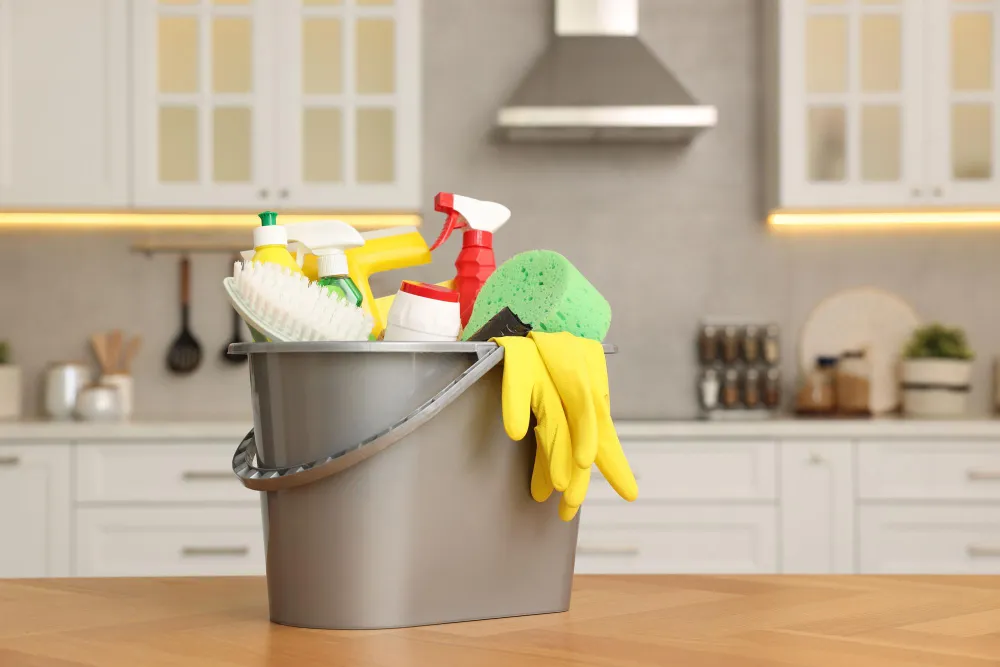
Before starting the cleaning process, it helps to gather your cleaning supplies. Having everything in one place means you won’t have to run back and forth.
Here is your cleaning essentials list:
- Microfiber cloths to trap dust, dirt, and many surface contaminants.
- Cellulose sponges that are plant-based alternatives and better for the environment.
- Scrub brush with a replaceable head to tackle grout and deep stains.
- A spray mop with washable pads and a bucket.
- A vacuum with a HEPA filter.
- All-purpose cleaner, a reliable degreaser, and glass cleaner.
- Baking soda for scrubbing and white vinegar for descaling.
- Rubber gloves to keep hands safe from hot water and cleaning agents.
- Sturdy trash bags.
Tip: We suggest using eco-friendly, non-toxic cleaners, as they get the job done just as well as harsh cleaners, and you will not have to worry about kids or pets being around while you work.
How to Clean Your Kitchen Step by Step
If you just start wiping things down at random, you usually end up doing twice the work. The real secret to a spotless kitchen is following a specific order. Here is the exact kitchen cleaning schedule we suggest to get it done right the first time:
-
Declutter and Put Everything Away
You can start by clearing the counters. If they are buried under daily clutter or random appliances, the surfaces cannot be cleaned properly.
Getting every single item off the surfaces gives you a clear space to work. You can use this simple guide to sort your items:
| Category | What to Include |
| Keep | Daily-use appliances, essentials, and favorite tools. |
| Donate | Gadgets you have not used in over a year, like duplicate spatulas, chipped mugs, mismatched sets, etc. |
| Trash | Broken items, items missing parts, or unidentifiable containers, worn-out sponges, or faded plastic storage lids. |
Once the surfaces are empty, it is finally possible to reach the corners and seams where grime usually hides.
-
Dust High Surfaces and Light Fixtures
After clearing the clutter, start at the top and work your way down. You can take a long-handled duster or a damp microfiber cloth to clean the following:
- Light fixtures
- Tops of the fridge
- Upper crown molding of cabinets.
If you cannot reach the top of a cabinet, you can use a stable step stool rather than stretching because safety matters as much as cleanliness.
-
Clean Cabinets and Shelves
Cabinets often collect grease, fingerprints, and food splatters, especially around handles and cooking areas. You can mist the exterior doors and handles with a mild degreaser: just a light spray, not enough to soak them. Then you can wipe in the direction of the wood grain to avoid streaks.
For the interior, taking out your spices and dried goods makes the job much easier. While the shelf is empty, you can give it a quick wipe with a damp cloth to clear out any crumbs or spills.
Tip: This is the perfect moment to check expiration dates on spices or those half-empty boxes you haven’t touched in a year.
-
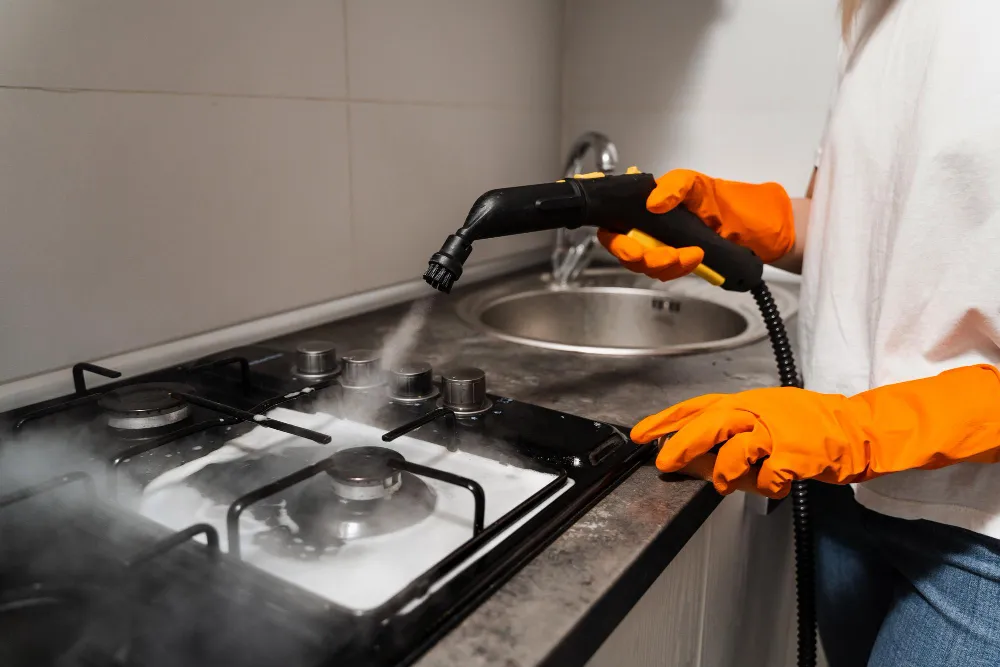
Clean the Stovetop and Range Hood
Before you even touch the countertops, it’s a great idea to tackle your stovetop and range hood. Since sticky grease builds up here fast, keeping this area clean is actually a pretty important safety step.
Here is how you can get it done right:
- Remove metal baffle filters and soak them in a sink filled with hot, soapy water.
- While the filters soak, apply a degreaser to the stovetop and let it sit for five minutes.
- Scrub the top surface with a non-scratch pad and rinse well.
- After that, return to your filters and scrub them gently to remove any loose grease
- Rinse the filters thoroughly with hot water.
- Let them air dry completely before sliding them back into the range hood.
-
Wipe Down Countertops and Backsplash
Now that you’ve done the major cleaning, it’s time to wipe off the countertops. Spraying your cleaner generously and letting it sit for a full minute is a total time-saver here. It gives the solution time to break down dried food residue so it can be wiped away rather than scrubbed.
If there is natural stone like granite or marble, you need to make sure that the cleaner is pH-neutral to avoid dulling the finish.
Also, don’t forget the grout lines in the backsplash (the wall area directly behind your counters and stove). A soft-bristled toothbrush dipped in your all-purpose cleaner can help clean grout more effectively by getting into those tight spaces.
-
Deep Clean the Sink and Faucet
Next, you can head over to the sink. It is often the germiest spot in the kitchen, so it deserves a little extra attention.
You can clean it by following these steps:
- Mix a few tablespoons of baking soda with a splash of water until it forms a thick paste.
- Spread that paste around the basin and give it a good scrub with a sponge. It will lift stains from stainless steel or porcelain without leaving any scratches behind.
- After a quick rinse, a clean, dry microfiber cloth is all you need to buff the faucet and make it really shine.
-
Clean Small Kitchen Appliances
Once you have cleaned the sink and faucet, you can give your small appliances a quick refresh. Simply wiping down the exteriors of your toaster, coffee maker, and blender with a damp microfiber cloth keeps them looking brand new.
To clean your microwave:
- Put a bowl with a cup of water and a slice of lemon inside.
- Heat it for three minutes. The steam will soften dirt or food particles inside.
- Remove the grime with one light swipe.
To clean the air fryer:
- Remove the basket and tray
- Soak them in warm soapy water to loosen stubborn, burnt-on food.
- Scrub both gently with a soft sponge to keep the non-stick coating intact.
- Rinse and dry before reassembling.
-
Deep Clean Large Appliances
After the small surface areas are handled, it is time to move toward the heavy-duty appliances.
Refrigerator
Toss anything that looks suspicious. Take out the drawers and shelves and wash them in warm soapy water. It is much easier than trying to scrub them inside the fridge.
Once a year, pull the fridge out and vacuum the coils underneath to keep it working smoothly.
Dishwasher
- Check the filter at the very bottom.
- Pull it out if it looks dirty.
- Rinse away any trapped food, and put it back.
- Run an empty cycle with a bowl of white vinegar on the top rack to descale and freshen the interior.
-
Disinfect High-Touch Surfaces
In the next step, you can perform the “final polish.” All you need to do is take a disinfectant and a clean cloth and walk around the room to wipe down the spots touched every single day but rarely thought about, such as:
- Light switches
- Cabinet knobs
- Drawer pulls
- Appliance handles.
-
Sweep, Vacuum, and Mop the Floor
Now that every other surface is clean, it is time to clean the floors. Start by sweeping or vacuuming to remove any dust and crumbs you knocked down during cleaning. Make sure to get into the corners and under the toe-kicks of the cabinets.
When the floor is completely vacuumed, you can start mopping from the farthest corner of the room and work your way toward the doorway to avoid trapping yourself.
If you have tile floors, you can check out our guide on how to clean tile floors the right way.
-
Take Out the Trash and Replace the Liner
Finally, you can take out the trash and scrub the inside of the bin itself. Even if the liner did not leak, trash cans trap smells.
A quick spray of disinfectant inside the can before putting in a fresh liner helps keep the entire kitchen smelling fresh.
How Often Should You Clean Your Kitchen?
Cleaning needs vary based on your household activities and lifestyle. We recently helped two local families and suggested different frequencies based on their unique usage.
Home A, a busy household with three children and pets, needed a daily wipe-down and weekly deep-cleaning cycle to stay ahead of the mess.
Home B, a couple with a quiet lifestyle, found that their needs were mostly maintenance-based, requiring a deep clean only once a month.
Ideally, you can follow this standard cleaning schedule to ensure your kitchen remains in peak condition:
| Task | Recommended Frequency |
| Wash dishes | Daily |
| Wipe countertops | Daily |
| Sanitize sink | Daily |
| Sweep floors | Daily |
| Mop floors | Weekly |
| Clean microwave | Weekly |
| Wipe cabinet fronts | Weekly |
| Clean refrigerator shelves | Monthly |
| Deep clean oven | Every 3–6 months |
| Clean range hood filter | Monthly |
Common Kitchen Cleaning Mistakes to Avoid
After cleaning kitchens across Bucks County for years, we have seen a few common mistakes that make cleaning less effective. Here are the ones you should avoid:
- Using the Same Sponge for Everything: Sponges harbor bacteria, so you need to replace yours every 2 weeks.
- Ignoring the Vent Hood: This is where airborne grease lands. If you neglect it, it may lead to sticky, dusty kitchen air.
- Using Harsh Chemicals on Stone: Bleach can permanently damage granite or quartz countertops. Always check labels for gentle cleansers.
- Cleaning the Floor First: Always start high and finish low to avoid getting dust on freshly mopped floors.
When Should You Hire Professional Kitchen Cleaning Services
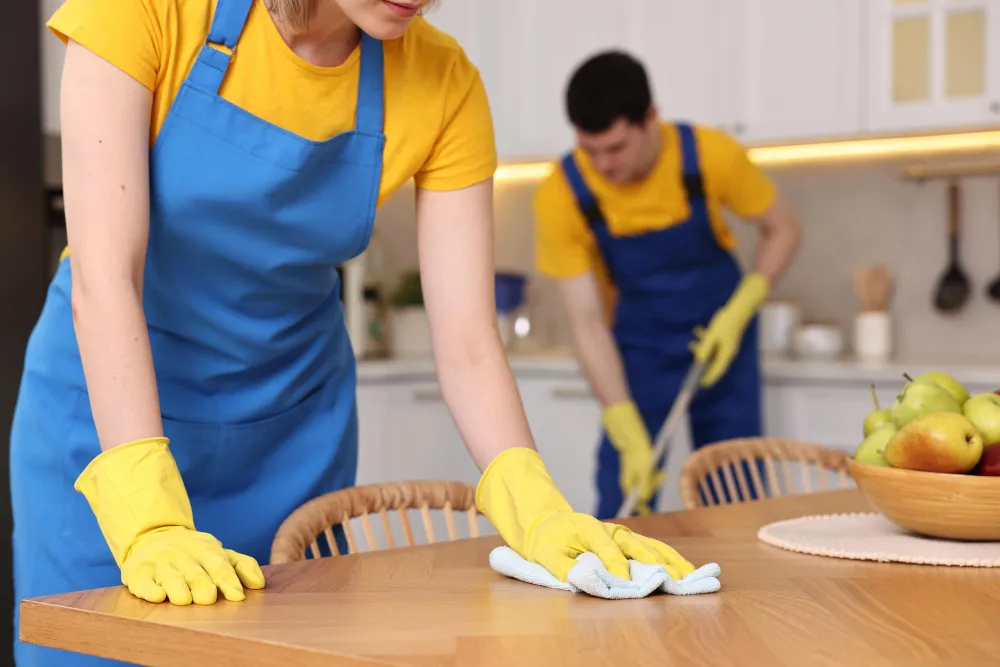
While most kitchen cleaning tasks can be handled by yourself, you should call a professional residential cleaning service in the following cases:
- Grease buildup is stubborn, and your sprays no longer clean it.
- If you’re moving in or out, professional cleaners can handle the detailed cleaning needed to prepare the property for landlords, buyers, or its next occupants. You have tried every DIY paste without success.
- You find that the kitchen cleaning checklist is sitting on your counter for weeks without being touched.
Conclusion
A clean kitchen is essential for protecting your family’s health and your home’s longevity. With this kitchen cleaning checklist, you can move from panic-cleaning to a manageable routine.
And remember, you don’t have to tackle the whole kitchen in one go. Just building a few tiny, daily habits is what really keeps the chaos at bay in the long run.
If you are looking for professional support, Alex Cleaning provides expert residential and commercial cleaning services across Bucks County. We take the time to clean the spots most people miss and stick to eco-friendly products that are safe around your kitchen.
Contact us today for a free estimate and let us handle the scrubbing for you.
FAQs
Why does my kitchen still smell bad after cleaning?
Usually, odors originate in the garbage disposal or the dishwasher filter. You should keep these areas clean. If the smell persists, run ice through the garbage disposal to help remove buildup, then add a few lemon peels to freshen it. Also, check your dishwasher filter and remove any trapped food or debris.
How to maintain a clean kitchen if I am a busy professional?
Create a simple checklist for daily and weekly tasks so you do not have to think about what needs doing. If you have a tight schedule, consider a fifteen-minute nightly kitchen reset. This simple habit keeps your kitchen manageable and saves you from stressful weekend cleaning sessions.
Is it better to clean the kitchen at night or in the morning?
Doing an “evening reset” is a total game-changer. Cleaning for ten minutes before you head to bed means you get to walk into a fresh, tidy kitchen. Enjoying your first cup of coffee in a clean space sets a much calmer tone for the rest of your day.
How do I disinfect my kitchen without using harsh chemicals?
White vinegar works well for general cleaning, while an EPA-registered disinfectant or hydrogen peroxide can be used when proper surface disinfection is needed.
These options kill germs effectively but leave your kitchen feeling safe and breathable.