
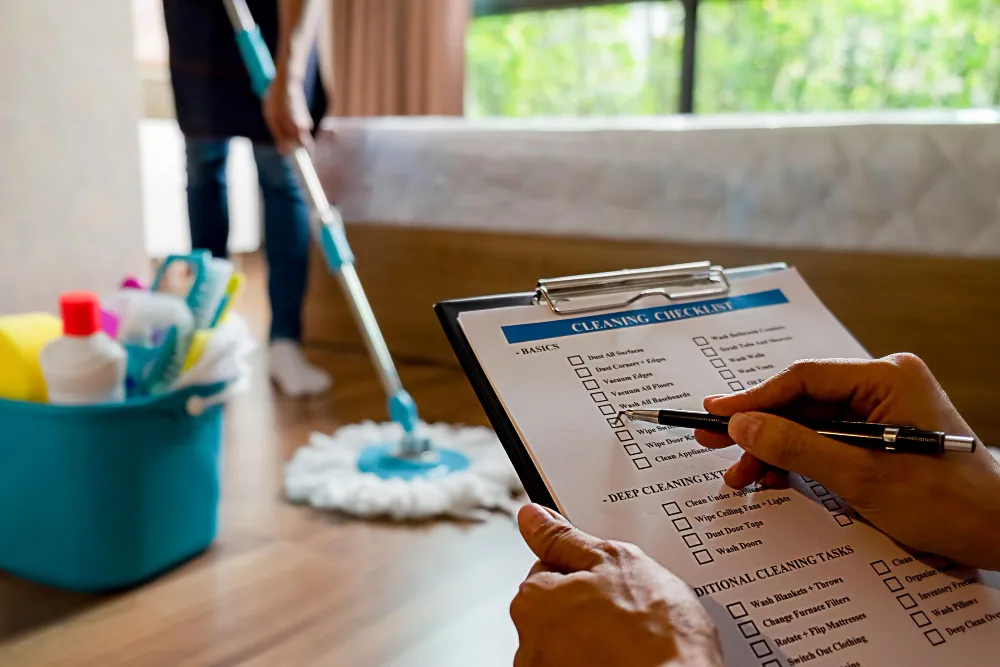
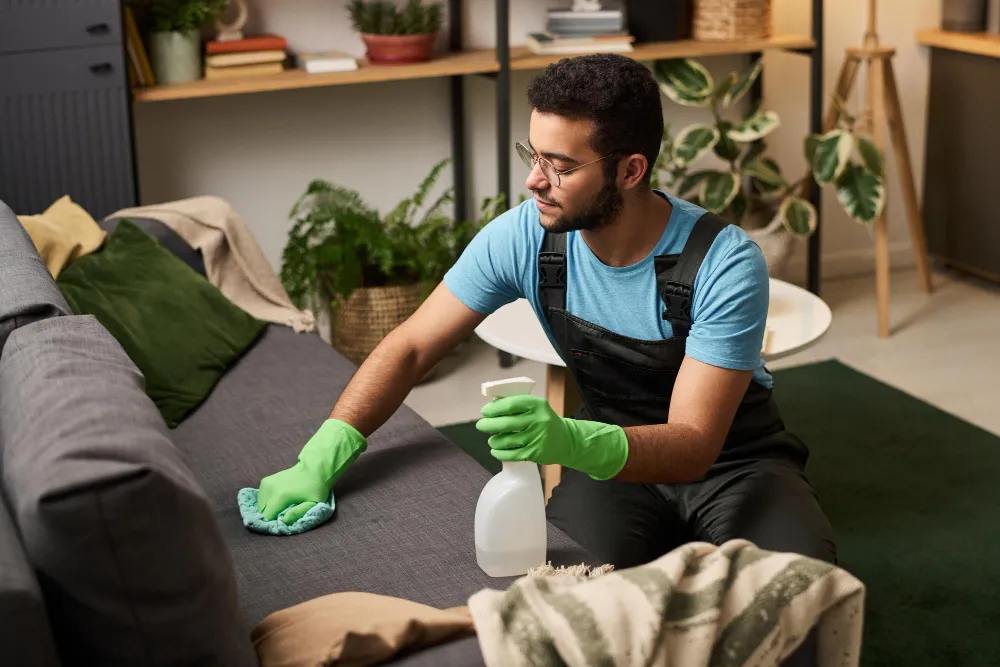


After months of cold weather in Bucks County, opening your windows for the first time in spring is one of the best feelings. But as soon as sunlight streams in, it usually reveals everything winter left behind, like heavy dust on door trim, grease on range hoods, and dingy baseboards.
The most challenging part is knowing where to start your spring cleaning. If you don’t know how to do it properly, you can spend hours cleaning one room only to stir up dust later and have it settle on surfaces you have already cleaned.
With over 20 years of professional cleaning experience in Richboro and the surrounding Philadelphia suburbs, our team knows what homeowners often miss during a seasonal deep clean. In this guide, we are sharing our professional spring-cleaning checklist to help you tackle the job step by step.
What to Include in Your Spring Cleaning Checklist
- You can avoid constant interruptions by gathering essential cleaning supplies, such as microfiber cloths, eco-friendly cleaners, and a HEPA vacuum.
- Work from ceilings to floors to avoid cleaning the same dust twice.
- Start with high-impact spaces like your kitchen or main bathroom to get instant momentum and keep going.
- Following a step-by-step cleaning process through every room helps make sure you refresh all the spots.
- Avoid common mistakes, like rushing cleaning products or bouncing between rooms to keep the whole process smooth and manageable.
- Choosing between a self-paced weekend DIY effort and bringing in professional cleaners depends on your schedule and energy.
What Does Spring Cleaning Include?
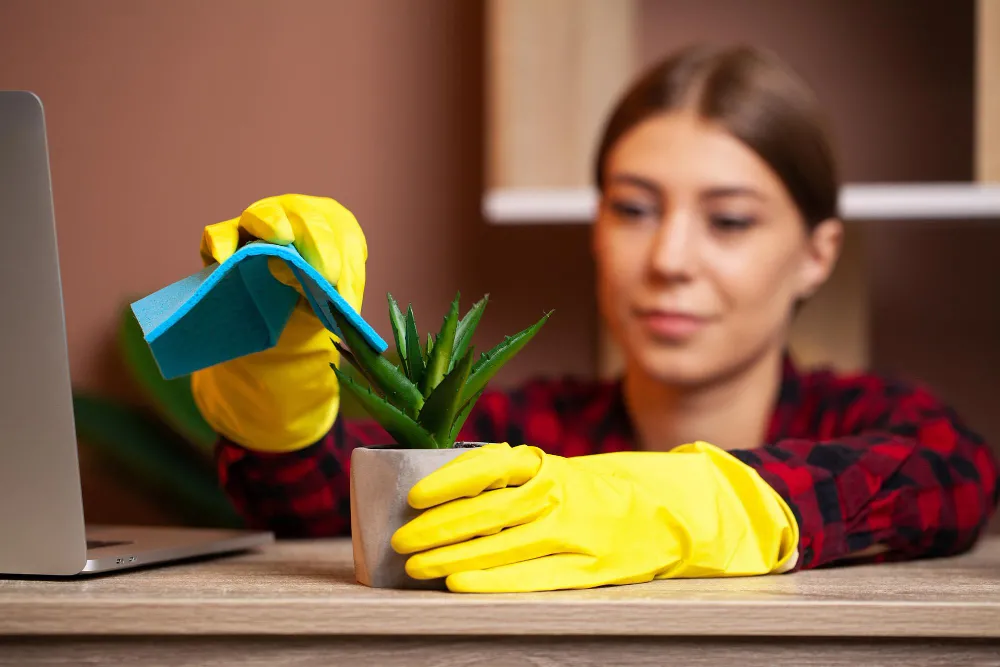
Spring cleaning focuses on the dirt and buildup that regular weekly cleaning often misses, such as dusty baseboards, greasy kitchen surfaces, window tracks, and areas behind furniture.
As the weather warms up and windows are opened, it is the best time to give your home a true seasonal reset by tackling the spots that are usually overlooked the rest of the year.
Key focus areas in spring cleaning include:
- Dust buildup on ceiling fan blades, light fixtures, and door trim.
- Built-up dirt sitting inside window tracks and outer glass panes.
- Baked-on grease trapped inside ovens, range hood vents, and fridge shelves.
- Mineral buildup and soap scum on tile grout and showerheads.
- Settled dust and allergens hiding in mattresses and heavy rugs.
What Do You Need Before Starting Spring Cleaning?
Gathering your supplies before you touch a single surface prevents you from having to stop every ten minutes and hunt down what you need.
We recommend using these tools and supplies for your spring reset:
- Microfiber cloths
- Extendable duster
- HEPA filter vacuum
- Eco-friendly multi-surface cleaner
- Glass cleaner & squeegee
- Stiff-bristle grout brush
- Distilled white vinegar & baking soda
- Microfiber mop with washable pads
The Ultimate Checklist for Spring Cleaning
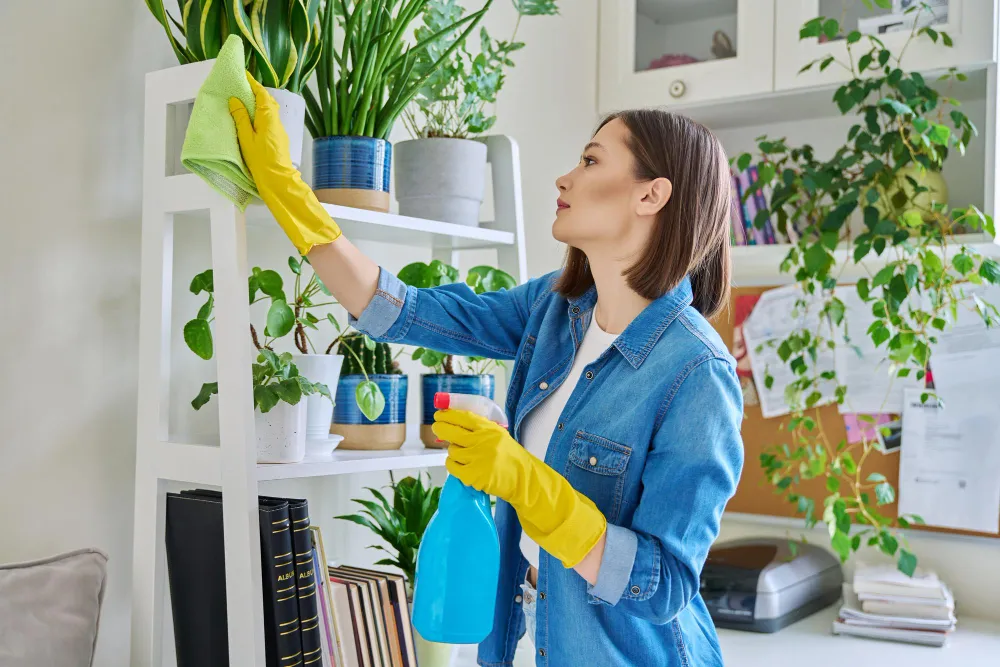
Before we jump into the specifics, here is a quick table to help you see the key spring cleaning tasks for each area of your house:
| Area | Key Cleaning Tasks |
| Whole house | Dusting, windows, floors, vents |
| Kitchen | Appliances & cabinets |
| Bathroom | Tile grout, shower glass, fixtures |
| Bedroom | Bedding, mattress, closet space |
| Living room | Furniture & upholstery |
With your supplies ready, let’s dive into our room-by-room checklist. We’ll guide you step-by-step on exactly where to start and how to hit those easily missed spots so your home feels completely fresh.
Whole-House Spring Cleaning Tasks
Before focusing on individual rooms, taking care of house-wide details sets a clean baseline for your entire home.
- Start by sliding an old pillowcase over your ceiling fan blades to trap the dust so it doesn’t fall on your furniture.
- Then, use an extendable duster to quickly clear cobwebs from crown molding, light fixtures, and door frames.
- Once high surfaces are clear, you can remove the window screens and take them outside for a quick rinse with a garden hose. (For a step-by-step breakdown on getting crystal-clear glass, read our guide on how to clean windows without streaks)
- To clean window tracks, sprinkle a bit of baking soda, add a splash of vinegar to loosen caked-on grime, and scrub the mess away with a small brush.
- After windows are done, a damp microfiber cloth lightly sprayed with cleaner can easily lift shoe scuffs off your baseboards.
- After cleaning the baseboards, dry them with a clean microfiber cloth. Regular dry dusting will help prevent heavy buildup between deeper cleans.
- Next, take a minute to wipe down door handles and light switches. These little spots tend to collect a lot of dust and fingerprints over time.
- Finally, wash any removable vent covers according to their instructions, and give the surrounding openings a quick vacuum to catch any remaining dust.
Kitchen Spring Cleaning Checklist
When you are ready to tackle the kitchen, we recommend starting with your heavy appliances so natural cleaning agents have plenty of time to sit and work. Here is the exact cleaning flow you can follow:
Refrigerator
- First, you need to clear out old food and turn off the temperature control. Letting the cold glass shelves reach room temperature before washing them in warm water can help prevent cracking.
- Then, you can wipe down the inside walls and shelf surfaces with a mix of warm water and baking soda. This mixture helps scrub away spills without leaving any harsh chemical smell.
- After that, give the rubber door seals a quick wipe to help remove any crumbs or grime that may have collected there.
Oven
- For the oven, spread a paste of baking soda and water over compatible interior surfaces. Let it sit long enough to soften baked-on residue before wiping it away.
- Then, do a quick spritz of white vinegar to create a gentle fizzing reaction. It helps you wipe away the loosened grime with a damp cloth.
Range Hood
- For the range hood, we suggest soaking your washable, greasy range hood filters in a sink full of hot, soapy water mixed with baking soda.
- After letting them rest for about 15 minutes, a quick scrub with a soft brush and a warm rinse easily strips away the sticky oil.
For a more detailed look into maintaining a germ-free cooking space year-round, you can read our complete kitchen cleaning checklist guide.
Cabinets
Wipe your cabinet doors with a soft microfiber cloth dipped in warm water and mild dish soap to lift sticky grease without harming the finish.
Garbage Disposal
To freshen up the sink, we recommend following the manufacturer’s cleaning instructions for your specific unit.
Follow the manufacturer’s cleaning instructions for your garbage disposal. If recommended for your unit, running a few ice cubes through it can help knock buildup loose.
For lingering odors, clean the removable splash guard and other accessible areas where food residue tends to collect.
Bathroom Spring Cleaning Checklist
- You can start by removing the exhaust fan cover and washing away the dust buildup restricting your airflow.
- While the exhaust cover dries, clean mineral buildup around the shower.
- Check the showerhead manufacturer’s care instructions first. If the finish is vinegar-safe, soak the affected area in diluted white vinegar to loosen mineral buildup and then rinse it thoroughly.
- For vinegar-safe shower glass, spray it with equal parts vinegar and dish soap for 15 minutes to break down soap scum.
- Afterwards, simply rinse the glass and wipe the showerhead nozzle clean.
- For tile grout, a stiff grout brush or an old toothbrush gives you the best control for scrubbing out dirt trapped between tiles.
- You can then use a small detail brush to lift dust and grime around toilet seat hinge bolts and the porcelain base.
- Finally, sweep up the loose hair, followed by a thorough pass with a microfiber mop to leave tile floors clean and fresh.
For more tips on protecting your tile and grout from moisture buildup, read our full guide on how to prevent mould in the bathroom
Bedroom Cleaning Checklist
- First, strip the bed and wash sheets, mattress covers, and pillow shams according to their care labels. Regular laundering helps remove dust, skin flakes, and allergens that collect in bedding.
- While the laundry runs, you can sprinkle a light layer of baking soda across the bare mattress to absorb lingering moisture and odors over the next 45 minutes.
- During that wait, you can dust ceiling fan blades and window blinds to remove airborne dust before it falls onto lower surfaces.
- Pull storage containers out from under the bed. Vacuum the exposed floor and corners where dust collects.
- Using a clean upholstery attachment, you can vacuum the top and sides of the mattress before rotating it 180 degrees to preserve its shape.
- Moving to the closet, it helps to wipe down hanging rods and top shelves to remove fine dust that settles on clothes over time.
- Then, you can wipe down nightstands and dressers, followed by a thorough vacuuming or mopping of the floors, which catches any remaining debris.
- Finally, remake the bed with fresh, clean linens to bring the room together nicely.
Living Room Spring Cleaning Checklist
- Remove the couch cushions and vacuum crumbs and hair from the seams.
- If your couch covers are removable, running them through a gentle wash cycle restores a clean scent to your main seating area.
- For fabric lampshades or velvet furniture, a simple sticky lint roller lifts pet hair far better than a standard cloth.
- Before cleaning lower surfaces, dusting bookshelves, window blinds and wall art with a soft cloth prevents loose dust from settling onto clean furniture.
- Next, you can spray an electronics-safe screen cleaner onto a microfiber towel to wipe fingerprints off TV screens and remotes safely.
- Finally, rolling back area rugs lets you sweep the floor underneath before thoroughly vacuuming the rugs.
Home Office Spring Cleaning Checklist
- Start by disconnecting the keyboard if the manufacturer recommends it. Use a soft brush to loosen debris between the keys, then clean the surface according to the device manufacturer’s instructions.
- Use short bursts of compressed air to clear dust from computer vents and help maintain proper airflow.
- Next, gather loose paper stacks and route charger cords through desktop clips, as it keeps surfaces clear for quick daily wiping.
- Finally, do a thorough vacuuming of the cushions on your fabric office chairs to remove settled dust and keep daily seating fresh.
Spring Cleaning House Checklist for Outdoor Spaces
Once you finish the interior, clear winter debris and grime from your patio and other outdoor areas. Here is a simple routine to work through:
- Sweep dried mud, leaves, and spiderwebs from porch ceilings, steps, and entryways with a stiff-bristle broom.
- Next, wipe down patio tables and chairs with warm water and mild eco-friendly soap to get your outdoor furniture ready for use.
- Rinse suitable outdoor surfaces with a garden hose. If you use a pressure washer, choose a setting that matches the surface and test a small area first to avoid damaging siding, masonry, or finishes.
- Finally, a simple shake of your front door mat and a quick rinse of the threshold make a welcoming entrance every time you step outside.
Common Spring Cleaning Mistakes to Avoid

A few common mistakes can make spring cleaning take longer or leave important areas unfinished:
- Jumping Around Randomly
Moving between rooms without finishing one always leaves essential tasks unfinished.
- Working from Bottom to Top
If you vacuum or mop the floors before dusting high shelves, falling dust can ruin your clean floors.
- Using Overly Harsh Chemicals
Harsh cleaners and abrasive pads can damage stone, wood, and sealed tile surfaces.
- Overlooking High-touch Surfaces
When you focus only on larger surfaces, it is easy to miss frequently touched areas such as door handles, remotes, and light switches. Clean these surfaces regularly, especially when they look dirty or someone in the household has been sick.
Should You DIY Spring Cleaning or Hire Professional Cleaners?

When busy work schedules, family commitments, or physical limitations make a full DIY reset difficult, it is better to bring in professional cleaners for a deep-clean service to ensure every corner of the house is thoroughly cleaned.
Here is how both options compare:
| Factor | DIY Spring Cleaning | Professional Cleaners |
| Cost | Minimal (only cleaning products & supplies) | Higher upfront investment |
| Time & Effort | Requires several hours or entire weekends | Saves your time; completed in a single session |
| Control & Pace | Complete control over schedule, rooms, and methods | Scheduled appointment with set service checklists |
| Detail & Equipment | Limited to household tools and personal energy | Commercial-grade equipment and specialized techniques |
| Best Used For | Smaller homes, budget focus, room-by-room pacing | Deep resets, large homes, busy schedules, physical limits |
Conclusion
A thorough spring clean clears the dust and grime that regular cleaning often misses. It also allows you to clean parts of your home that may not get much attention the rest of the year. A fresh start is always rewarding, whether you do the work yourself with a detailed checklist or hire professionals to do your spring cleaning.
If you live in Richboro, Bucks County or the Greater Philadelphia area and would like a spotless home without the stress, our team at Alex Cleaning is ready to help. We offer eco-friendly deep cleaning supported by a 100% satisfaction guarantee. Call us today at (215) 677-9717 for your free estimate!
FAQs
What are the most commonly forgotten spring cleaning tasks?
The most frequently skipped spots include baseboards, door frames, and switch plates. Window tracks, exhaust fan covers, and the floor space behind bulky kitchen appliances also tend to collect hidden winter buildup.
Which rooms should I clean first during spring cleaning?
Start with the high-traffic areas, like the kitchen or main bathroom, for an immediate motivation boost. Also, starting at the top level of the home and moving down ensures dust and debris never drift down onto freshly cleaned lower floors.
What is the best order to spring clean a house?
A top-to-bottom approach is one of the most efficient ways to deep clean a house. Tackling ceiling fans, light fixtures, and the tops of shelves first lets all the loose dust drift down to the floors, making it straightforward to vacuum everything up at the very end.